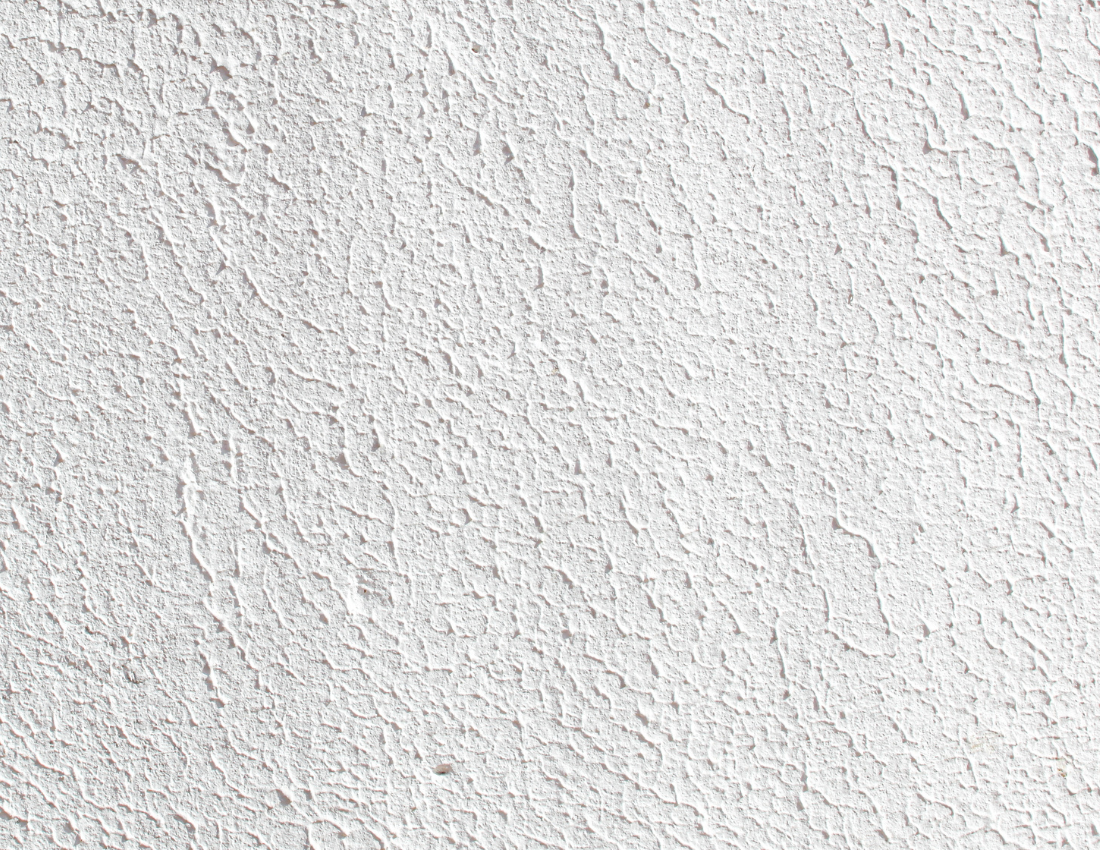
If you’ve ever stood in your living room wondering how to paint textured walls without missing spots or making a total mess, you’re not alone. Plenty of homeowners in Sandy Springs, GA deal with textured surfaces—orange peel, knockdown, popcorn, you name it—and painting them is a totally different story than a flat wall.
You can’t just slap on some paint with a cheap roller and hope for the best. Those dips and ridges love to catch lint, soak up paint, and leave dry patches that show through even after a second coat.
That’s why knowing how to paint textured walls correctly makes a big difference—not just in how the wall looks, but in how long that fresh coat of color actually holds up.
Let’s break it down. From prepping the surface to choosing the right paint roller and applying the final layer, here’s everything you need to know about painting textured walls.
Key Takeaways:
- Use a 1/2″ or 3/4″ nap roller to cover grooves in textured walls.
- Always clean and prime before painting to avoid patchy results.
- Eggshell or satin finishes work best for easier upkeep on textured surfaces.
- Touch-up tools like a sponge or brush help in hard-to-reach indents.
How to Paint Textured Walls
Painting a textured wall isn’t rocket science, but it does take the right approach. Before you open the paint can or grab a brush, here’s what to know first.
Texture makes every surface behave differently. Knockdown texture, for example, needs a different nap thickness than a heavy popcorn ceiling. Applying too little paint won’t give you coverage. Applying too much? You’ll get drips, uneven buildup, or a gummy mess that never quite dries right.
We’ll walk you through every part of the process. But if you’re also considering updating the space completely, color choices matter too. You might want to check out how different finishes and color tones can make a room feel more open, as we discussed in our post on how to make a room look bigger.
Now, let’s get into the actual steps.
Step 1: Prep the Wall—And Everything Around It
Textured surfaces grab onto dust like velcro. Before any paint touches the wall, make sure it’s clean. Use a soft brush attachment with a vacuum or a damp sponge with a little water if you’re dealing with stubborn buildup. No need to scrub—just enough to knock the dust off.
Next, cover your baseboards and outlets. Use painter’s tape and plastic sheeting or drop cloths to protect the room, especially if you’re spraying. Taping around a textured edge can be tricky, so press the tape in tight to avoid bleed-through.
If you see any holes or gouges, now’s the time to fill them. A bit of joint compound or putty applied with your finger (not a putty knife—smoothing it too much kills the texture) will do the trick.
Step 2: Prime Like You Mean It
This is not a step you want to skip. Primer helps even out the surface and seals the wall, so your paint doesn’t just soak in.
For most walls, a latex-based interior primer works well. Use a 1/2-inch nap roller if you’ve got something light like orange peel. If you’re dealing with popcorn or a rough knockdown texture, step it up to a 3/4-inch nap.
If you’re wondering why the type of roller matters, it’s because the thicker nap lets the roller push paint into all those grooves and valleys. A thinner roller just skims the surface.
We’ve seen walls where the homeowner used the wrong nap and ended up needing three coats. That’s time and money wasted.
Step 3: Get the Right Paint and Tools
Flat or matte finishes might sound appealing, but they’re harder to clean and will highlight every little bump. Instead, go with eggshell or satin for textured walls—they’re just shiny enough to reflect light without being too glossy.
You’ll need:
- A 9-inch paint roller cage
- 1/2 to 3/4-inch nap roller cover
- Paint tray and liners
- 2-inch angled brush for edges
- Interior latex paint in your preferred color
- A clean sponge or rag to spot-clean during painting
By the way, if you’re not sure how much paint you’ll need, take a quick look at our paint calculator. It saves time and avoids the classic “one more trip to the store” moment.
Step 4: Start Rolling Carefully
Load your roller and start painting in small sections, about 3–4 feet at a time. This gives you time to catch any drips before they dry. Always roll in a W pattern, then backroll to smooth it out.
Check your work as you go. The texture can hide skips and streaks, especially near the edges of the roller. Don’t press too hard—let the nap do the work.
Use your brush to get into corners, around outlets, and along ceilings. If you’ve taped everything well, you won’t need to worry about cutting in with extreme precision.
Speaking of ceilings, if you’re tackling a popcorn ceiling at the same time, keep in mind it soaks up paint like crazy. You may need a sprayer or extra roller covers.
Step 5: Apply a Second Coat
Even with the best paint and tools, textured walls almost always need two coats for full, even coverage. Let the first coat dry completely—usually 4 to 6 hours, depending on temperature and humidity in the room.
Check for thin areas or patches where the texture shows through too much. Then go back over everything with the same method.
Pro tip: If you’re painting a bathroom, kitchen, or anywhere with moisture, make sure you’re using paint that’s resistant to water and humidity. A semi-gloss or satin finish will hold up better long term.
Don’t Forget These Helpful Extras
These small steps can make a big difference:
- Use a sprayer on heavily textured stucco or ceilings, especially with high walls or tricky corners.
- Dab a brush into deep indents or around trim when a roller doesn’t reach fully.
- For knockdown texture, a thicker paintbrush or sponge can help you touch up spots without flattening the design.
We also cover other helpful tips in our post on interior painting trends, especially when it comes to mixing finishes in different parts of the home like the kitchen and hallways.
Working With Professional Painters in Sandy Springs, GA
Now that you understand how to paint textured walls and why it’s different from flat surfaces, the question becomes: who should be doing it?
Hiring professional painters in Sandy Springs, GA saves you from the hassle of figuring out roller types, nap sizes, drying times, and cleanup. They know how to prep a wall, handle tricky ceiling cuts, deal with popcorn textures, and get a flawless finish without wasting time or paint.
Here’s what it looks like when you work with Oakcliff Painting:
- We inspect and prep your drywall or plaster, repairing damage with joint compound, mud, or putty where needed.
- We prime with the right base for textured surfaces.
- Our team uses rollers, sprayers, and brushes that match the specific texture of your walls or ceilings.
- We use washable, high-quality latex paint in the color of your choice—available in eggshell, satin, or semi-gloss finishes.
- Every job includes full masking with tape and plastic around baseboards, outlets, and switches.
- We clean up fully, leaving your room ready to enjoy.
Textured walls can add warmth and dimension to a space, but only if they’re painted the right way.
Need help in Lilburn, Peachtree Corners, Tucker, GA, or the surrounding areas?
Call us at 770-405-3449 for a FREE estimate and let Oakcliff Painting make your next project stress-free.